Table of Contents
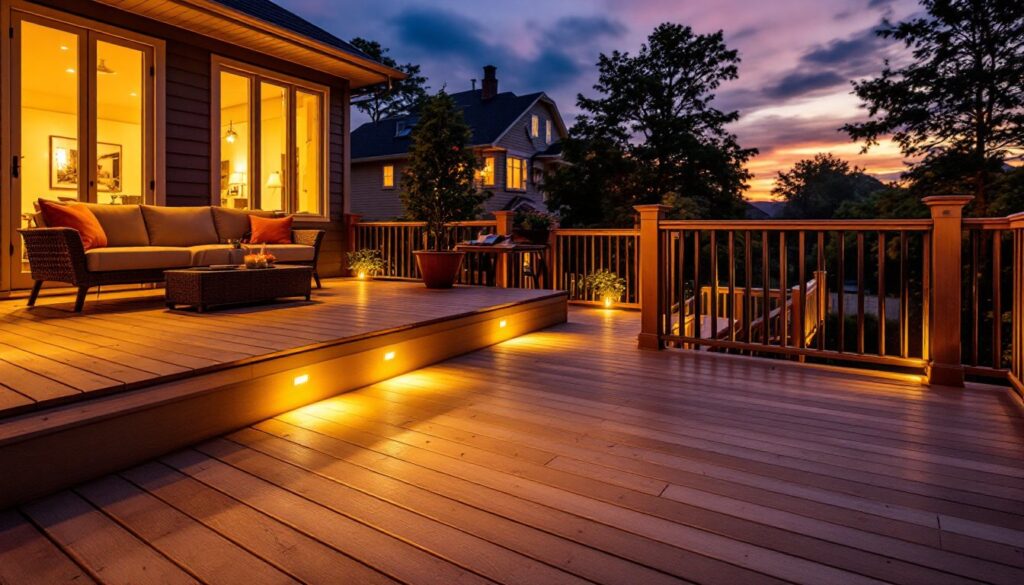
ToggleWhen the sun dips below the horizon, most decks turn into dark, unusable spaces. In-deck lighting changes that equation entirely, it extends your outdoor entertaining season, improves safety on stairs and walkways, and creates an inviting atmosphere that makes people want to linger. Whether you’re planning a small accent system or a comprehensive lighting network across your entire deck, understanding your options and installation approach will help you make smart choices that fit both your budget and your skills. This guide walks you through the essentials of in-deck lighting so you can light up your patio with confidence.
Key Takeaways
- In-deck lighting extends your outdoor entertaining season, improves safety on stairs and walkways, and creates an inviting atmosphere that makes your patio more marketable and functional year-round.
- LED deck lights consume 2–3 watts per fixture compared to 15–20 watts for incandescent bulbs and last 25,000–50,000 hours, making them pay for themselves through energy and replacement savings within 2–3 years.
- Plan your lighting layout by prioritizing stair safety first (ideal spacing of 12–18 inches on treads), then adding accent and task lights for dining and seating areas, with 8–12 total lights being typical for a standard deck.
- Low-voltage LED systems (12-volt) are safer and easier for DIY installation than line-voltage work, requiring only a transformer plugged into an outdoor outlet and weatherproof cable—no permit usually needed.
- Recessed fixtures require drilling 1.5–3 inch holes through the deck and securing with supplied brackets, while solar lights offer maintenance-free alternatives but provide less brightness and shorter lifespans (3–5 years).
- Maintain your in-deck lighting system with seasonal inspections for debris and corrosion, reapply waterproof caulk every 2–3 years, and expect quality hardwired systems to last 10–15 years before component replacement.
Why In-Deck Lighting Matters for Your Patio
In-deck lighting isn’t just about aesthetics, though it certainly delivers there. Properly lit decks are safer. Step nosing, stair edges, and level changes become visible hazards avoided rather than trip risks. If you’re hosting evening gatherings, adequate lighting lets guests move around confidently and enjoy food and conversation without squinting.
Beyond safety, lighting defines ambiance. Soft, low-level lights running along deck edges create an intimate feel perfect for conversations. Brighter task lights near seating or dining areas make those zones functional. Many homeowners find that once they add in-deck lighting, they actually use their outdoor spaces more, sometimes doubling the value they get from that investment.
From a financial standpoint, a well-lit deck also becomes more marketable if you ever sell. Prospective buyers see a finished, usable extension of the home rather than an unlit afterthought. And if you’re looking to upgrade your outdoor entertainment setup, outdoor lighting ideas transform these spaces from sunset shutdowns into evening destinations.
Types of In-Deck Lighting Systems
In-deck lighting comes in several flavors, each with its own strengths and trade-offs. Recessed fixtures sit flush within or slightly above the deck surface, these are your classic deck lights, available in post cap styles, rail-mounted units, or low-profile step lights. Rope and strip lights (especially modern LED versions) can weave along fascia or under railings, offering flexibility in placement and a continuous line of light rather than individual points.
Solar deck lights require no wiring, making them attractive for renters or those avoiding electrical work. The downside: they’re less bright, depend on daily sun exposure, and often have shorter lifespans than hardwired systems. String lights and pendant fixtures hung above the deck are another popular choice, though technically not “in-deck” since they’re overhead.
The most common and durable approach for serious DIYers combines low-voltage LED fixtures wired to a single transformer. This avoids the complexity of 120-volt line-voltage work and keeps electricity costs down.
LED vs. Traditional Deck Lights
LED deck lights dominate the market now, and for good reason. A standard 20-watt equivalent LED deck light consumes roughly 2–3 watts, compared to 15–20 watts for older incandescent or halogen equivalents. Over a season of use, that difference adds up. LEDs also last 25,000 to 50,000 hours versus 2,000–5,000 hours for traditional bulbs, meaning you’re replacing them far less often.
Traditional lights generate more heat, which can be a problem in tight fixtures or near flammable materials. LEDs run cool, are more durable against temperature swings, and come in a wider range of color temperatures, warm white (2700K) for ambiance or cool white (5000K) for task lighting. The main trade-off is upfront cost: LED systems are typically 30–50% more expensive than their incandescent counterparts. But the energy and replacement savings usually justify it within 2–3 years.
For deck work specifically, look for lights rated IP65 (water and dust resistant) minimum. Many pro trade lighting solutions offer better sealing and durability than budget models.
Planning Your Deck Lighting Layout
Before you buy a single light, walk your deck at dusk and ask yourself: Where do people actually stand, sit, or walk? Those are your zones. Prioritize safety first, light every stair tread nosing, level changes, and transitions from deck to ground. A single well-placed light at the top and bottom of stairs is the bare minimum: stair tread lights every 12–18 inches are ideal.
Next, identify accent and task zones. A dining table needs brighter, functional light. A lounge seating area benefits from softer ambient light. Railings and perimeter edges get subtle accent lights that look attractive without creating glare. One rule of thumb: use multiple lower-wattage lights rather than one bright fixture aimed at everything, you’ll get better coverage and fewer harsh shadows.
Sketch a rough overhead view of your deck and mark fixtures. A typical 12×16 deck might use 8–12 individual lights: 4–5 on stairs, 3–4 around seating, and 2–3 for accent or pathway effect. Once you have placement, measure the total run distance if you’re planning a wired system. If that run exceeds 50–75 feet from your transformer or power source, you may need to split the circuit or size up your transformer.
Check your local code. Some jurisdictions require that deck stairs have a minimum illumination level (often 5–10 foot-candles at stair treads). An electrician can verify, or look up your jurisdiction’s building codes online. If you’re unsure about wiring, hiring a licensed electrician to install the transformer and main circuit is safer and often code-required anyway.
Installation Tips for DIY Homeowners
Preparation is everything. Before cutting into deck boards or running cable, measure twice and mark all fixture locations with a tape measure and pencil. If you’re installing recessed deck lights, you’ll need to drill 1.5–3 inch holes through the deck surface, depending on the fixture. A hole saw (available at any hardware store, $5–15) paired with a corded drill or drill press makes this clean and fast. Wear safety glasses during drilling, wood chips fly.
For hardwired systems, low-voltage is far more forgiving than line-voltage. A 12-volt transformer (typically 100–300 watts) plugs into an outdoor outlet. From there, you run weatherproof cable (18–16 gauge, depending on distance and load) to each fixture. This cable can run along deck joists, railings, or buried a few inches below the surface. No permit usually required for low-voltage work, but double-check locally.
If you lack an outdoor outlet nearby, you may need to run power from an interior circuit. This is where permits and a licensed electrician typically become necessary, depending on your jurisdiction. Don’t shortcut this, improper outdoor wiring creates shock and fire hazards.
Installation steps for recessed step lights:
- Mark and drill fixture holes using your hole saw.
- Run cable through the deck or along a joist to each location (in-deck lights often have rubber grommets for cable entry).
- Insert the fixture and secure with supplied brackets or mounting hardware.
- Strip and connect wires inside the fixture housing (low-voltage typically uses simple lever terminals, no soldering needed).
- Test before sealing: if a light doesn’t work, troubleshoot the connection immediately.
- Seal all cable entries and exterior connections with waterproof silicone caulk.
For solar lights, installation is trivial, press the stake into the deck or ground, and they’re done. Just ensure they get 6+ hours of direct sun daily for adequate charging. Many homeowners use solars as temporary lights while planning a permanent hardwired system.
Tools you’ll need: cordless drill, hole saw (for recessed fixtures), wire stripper, needle-nose pliers, flathead screwdriver, caulking gun, level, tape measure, and safety glasses. A weatherproof junction box is also wise if you’re terminating multiple circuits or connecting to your transformer outdoors.
Be honest with yourself about skill level. If electrical work makes you uncomfortable, hire someone. An electrician’s $200–400 visit beats a house fire or a serious shock.
Maintenance and Longevity
Good news: modern LED deck lighting is low-maintenance. Once installed, most systems run reliably for years with minimal fuss. That said, a little care extends lifespan and keeps everything looking sharp.
Seasonal checks: At the start and end of outdoor season, visually inspect all fixtures for debris, standing water, or corrosion. Gently wipe lenses clean, dust and pollen reduce brightness. If you notice a light dimming or flickering, it’s usually a loose wire connection: turn off the system, open the fixture (if accessible), reseat the connector, and test again.
Weatherproofing: Over time, caulk around cable entries and fixture housings can crack. Reapply waterproof silicone caulk every 2–3 years, especially in freeze-thaw climates. Water entering a fixture is the #1 cause of premature failure. Check that any outdoor junction boxes or transformer housings are properly sealed and have drainage holes at the bottom (no standing water inside).
Longevity outlook: A quality low-voltage LED system with weatherproof fixtures typically lasts 10–15 years before component replacement becomes necessary. Transformers may need replacement after 8–10 years depending on usage. Solar lights usually last 3–5 years before battery degradation makes them dim. Compare that to halogen systems, which required bulb swaps every 1–2 years and were much less durable overall.
If you’re tackling a larger outdoor project, understanding recessed lighting principles applies here too, good fixture sealing and proper wiring are foundational. And if you want to expand beyond deck lights into broader outdoor illumination, outdoor track lighting offers flexibility for highlighting architectural features or vegetation. Creative lighting design from sources like Popular Mechanics’ deck lighting guide can spark ideas for upgrades down the road.
Conclusion
In-deck lighting transforms a deck from a daytime-only asset into an evening destination. Start by identifying your safety and ambiance priorities, choose between hardwired and solar systems based on your setup and permanence goals, and don’t skip the planning phase. Most DIYers can handle fixture installation and solar placement with confidence. For hardwired work involving new circuits or 120-volt power, bring in a licensed electrician, it’s worth the investment. Once installed, maintenance is minimal. You’re looking at years of reliable, energy-efficient illumination that makes your outdoor space genuinely useful after sunset.


