Table of Contents
ToggleTrack lighting isn’t just for galleries and retail spaces, it’s one of the smartest moves a homeowner can make for a living room. Unlike fixed ceiling fixtures, track systems let you aim light exactly where you need it, adjust the look in minutes, and adapt as your room changes. Whether you’re brightening a dark corner, highlighting artwork, or creating flexible ambiance for movie night, track lighting delivers both function and style. If you’ve been wondering how to upgrade your living room’s lighting without a major renovation, this guide walks you through everything: how systems work, which types fit different spaces, and how to plan and install them yourself.
Key Takeaways
- Track lighting for living room spaces provides flexible, adjustable illumination that handles ambient, task, and accent lighting without requiring separate installations.
- Choose between monorail (sleek, low-voltage), linear (affordable, most common), pendant-style, or recessed track systems based on your ceiling structure, budget, and design aesthetic.
- Plan your layout on paper first, locating power feeds, sketching seating areas and artwork, and spacing heads 18–24 inches apart to avoid a cluttered appearance.
- Mount brackets into ceiling joists every 16–24 inches using lag bolts for structural support, and always test for electrical power before beginning any installation work.
- Use warm white (2700K–3000K) dimmable LED bulbs to create relaxing ambiance, and consult a licensed electrician for any hardwired power connections to ensure safety and code compliance.
- Track placement should complement your room’s style—run parallel to seating for overall lighting, position behind seating for intentional backdrop effects, and avoid centering a single track down the middle of large rooms.
What Is Track Lighting and Why It Works for Living Rooms
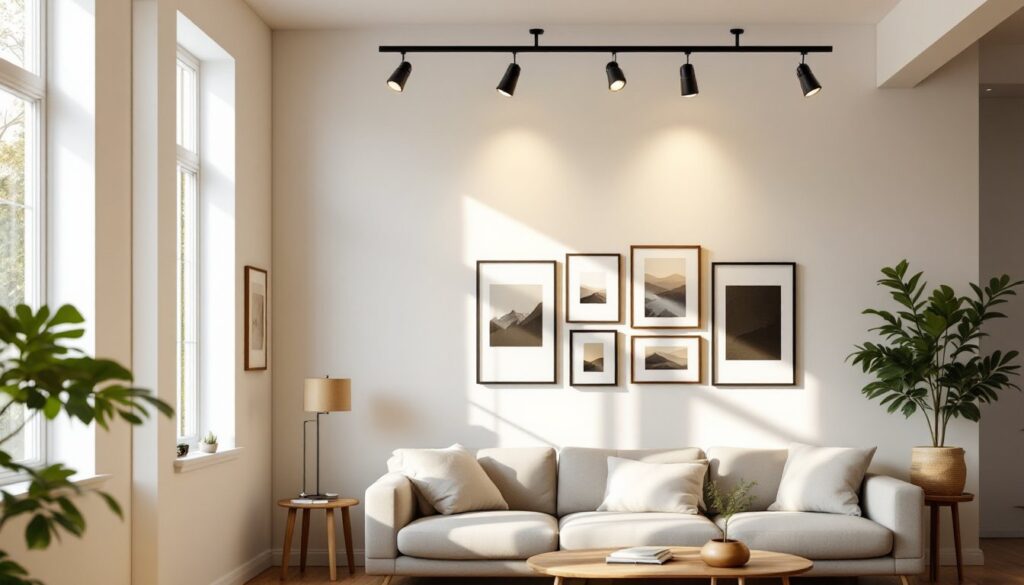
Track lighting is a flexible lighting system where individual fixtures (called heads) mount onto a powered rail, the “track”, running across your ceiling or wall. You can slide heads along the track, rotate them, and aim light at specific zones. This adaptability is gold for living rooms, where you want to light a seating area one moment and accentuate a gallery wall the next.
Compared to a single ceiling fixture, track systems eliminate the “one-size-fits-all” problem. A typical living room needs layered lighting: ambient light for general visibility, task light for reading, and accent light for drama or highlighting decor. Track lighting handles all three without requiring multiple separate installations. It’s also rental-friendly and doesn’t demand you rework electrical boxes or patch drywall when you eventually change things.
Track lighting for living room setups range from sleek and modern to warm and industrial. Most homeowners find them easier to install than recessed lighting because you’re not cutting into ceiling joists or dealing with junction boxes deep inside the framing. The trade-off: tracks are visible, so your design choice should embrace that fact rather than try to hide it.
Types of Track Lighting Systems
Track systems come in a few main flavors, and picking the right one depends on your ceiling, budget, and style. All tracks need a power feed, either through an existing ceiling fixture box or a hardwired connection, so if you’re unsure about your electrical panel capacity, it’s worth having a licensed electrician verify your setup.
Monorail vs. Pendant vs. Recessed Options
Monorail tracks are single-rail systems, often low-voltage (12V) and sleek. They’re ideal for minimalist spaces and can run curved or in unusual paths. Heads hang below the track or sit atop it, depending on style. Monorail systems require a transformer and, for some models, a junction box or hardwired connection.
Linear track systems are the workhorse. They run straight across your ceiling (120V line voltage), support multiple heads, and are the most affordable entry point. They handle standard incandescent, LED, and halogen fixtures. Most living room installs use linear track because it’s forgiving and compatible with a wider range of fixtures.
Pendant-style track combines a track rail with suspended light pods or shades. It blurs the line between track and traditional pendant lighting. This setup works well if you want statement pieces rather than adjustable spotlights. Pendant Lighting: Transform Your explores this aesthetic further.
Recessed track mounts flush into the ceiling, hiding the profile for a cleaner look. It demands more precise rough-in work and typically requires a carpenter to mill a recess into the ceiling joists or install a backing board. Recessed Lighting: Transform Your covers full flush mounting in detail. Recessed track is more labor-intensive but worth it if seamless ceiling lines matter to your design.
Design and Style Considerations for Your Space
Your track choice should complement your living room’s style, not fight it. A matte-black linear track looks sharp in modern lofts and works beautifully in industrial farmhouse settings. Brushed nickel or white tracks disappear into contemporary or transitional rooms. If you’re going vintage or eclectic, a brass or bronze finish can anchor the aesthetic.
Think about head design too. Adjustable spotlights work great for accent lighting: barn-style or schoolhouse-inspired heads add character: dome shades soften light and hide glare. Visual Comfort Lighting: Transform explains how fixture choices affect both mood and eye strain.
Track position matters as much as style. A track running parallel to your main seating (perpendicular to the sofa) lets you light the whole area. A track across the wall behind the seating creates a backdrop that feels intentional. Long, low-profile rooms benefit from multiple shorter tracks rather than one oversized run, it balances the visual weight. Avoid centering a single track down the middle of a large room: it looks institutional. Offset toward where you actually sit and spend time.
Color temperature is critical. Most living rooms perform best with 2700K (warm white, like incandescent) or 3000K (soft white) bulbs. These mimic candlelight and promote relaxation. If you use cool white (4000K or higher), the room can feel clinical or cold, fine for task lighting over a reading nook, but think twice before making it your whole room’s primary light. LED bulbs let you mix and match color temperatures across a single track, so you’re not locked in.
Planning Your Track Lighting Layout
Measure your room length, width, and ceiling height. Sketch where your sofa sits, which walls have art or accent pieces, and where you enter. This isn’t fancy, a rough floor plan with dimensions is enough. Check your existing ceiling for electrical boxes, structural elements like ceiling fans or joists, and any obstacles.
Decide where your power feed comes from. If you have a ceiling fixture (like an old pendant), you can often convert that box to feed a track. If not, you’ll need to run new wire from your electrical panel or a nearby outlet, which may require a permit depending on your jurisdiction. Don’t guess, consult your local building code or ask an electrician. Running power yourself without inspection is a safety and liability risk.
Lighting Layout Tool: Enhancing Your Design Process can help visualize placement before you commit. Mock up heights: standard ceiling mount is 12–18 inches from the wall if running parallel to it. For accent or spotlighting, track can sit closer to walls or be mounted on a sloped ceiling angled toward artwork.
Estimate the number of heads you’ll need. Older rule of thumb: one 75W incandescent equivalent per 75 sq ft. With modern LEDs (which use far less power), you might achieve the same brightness with 9–12W per head. Check your panel’s capacity: most residential panels allow 15–20A circuits. A track with six LED heads at 5A total is safe and won’t trip breakers. If you’re maxing out, consult an electrician about adding a circuit.
Leave 18–24 inches between heads for even spread and to avoid a cluttered look. Test the layout mentally or use a cardboard mockup taped to the ceiling before drilling.
DIY Installation Basics and Safety Tips
Before you start: turn off power at the breaker panel and test the outlet or fixture box with a voltage tester. This is non-negotiable, electricity and water (from sweat on your hands in an awkward overhead position) don’t mix.
Materials and tools you’ll need:
- Track system (includes rails, connectors, and power feed adapter)
- Individual track heads and bulbs (LED preferred for lifespan and efficiency)
- Mounting bracket kit (should come with track, but verify)
- Wire nuts or a junction box (if hardwiring vs. converting an existing fixture)
- Stud finder
- Drill or impact driver with bits
- Voltage tester
- Drywall anchors or lag bolts (if mounting into studs: track is heavy, don’t use toggle anchors alone)
- Safety glasses, work gloves
Installation steps (basic linear track):
-
Mark layout. Use a level and pencil to mark the track’s centerline on the ceiling. Locate ceiling joists with a stud finder and mark them: mount at least one bracket into a joist if possible for structural support.
-
Install mounting brackets. Secure brackets to the ceiling every 16–24 inches using 2.5-inch lag bolts into joists or heavy-duty drywall anchors into solid drywall. If your track runs between joists, use toggle anchors or install backing boards first, tracks sag if unsupported.
-
Mount the track rail. Slide the track onto the brackets and tighten set screws. Use a level to confirm it’s horizontal: even a 1/4-inch slope causes heads to roll.
-
Connect power. If converting an existing fixture, turn off the breaker, remove the old fixture, and follow the track manufacturer’s adapter instructions. For hardwiring a new circuit, Professional Trade Lighting: Enhancing Your Space With Quality Illumination can guide advanced setups. Most DIYers should hire an electrician for this step if unsure.
-
Install track heads. Slide heads onto the track, tighten their hold-down screws, and aim them. Insert bulbs and test.
-
Test everything. Turn the breaker back on. Verify all heads light and rotate smoothly. Check for buzzing (indicating a grounding issue) or flickering (bad connection).
Safety reminders: Wear safety glasses in case a screw or bracket falls. Have a helper hold the track level while you secure brackets, wrestling a 6-foot rail solo overhead invites mistakes and injury. If wiring goes beyond connecting to an existing junction box, bring in an electrician: it’s cheaper than a house fire or a shock. Building permits for electrical work vary by region: check your local code. In many areas, track lighting installed from an existing outlet doesn’t require a permit, but hardwiring a new circuit does. Don’t skip this step for the sake of speed.
Living room track lighting often stays powered all day in winter or during cloudy stretches. Use dimmable LED bulbs and a dimmer switch to control ambiance and save energy. Most standard dimmers work with LED tracks, but confirm compatibility, some cheap LEDs flicker on older dimmers.
Conclusion
Track lighting transforms a living room from flat and uninviting to layered and dynamic. Start by understanding your space’s electrical constraints, pick a track style that suits your aesthetic, plan the layout on paper, and take your time during installation, especially the electrical connection. If you’re comfortable with tools and have a stable ladder, most of the work is straightforward. Where power comes in, don’t improvise: that’s where professionals earn their fee. Once installed, you’ll enjoy flexibility no other fixed fixture offers. Slide heads, swap bulbs, adjust brightness, and reshape your room’s feel without calling an electrician again.


