Table of Contents
ToggleBathroom lighting shouldn’t be an afterthought. Most bathrooms rely on a single overhead fixture or outdated vanity lights that cast shadows where you need brightness most. Track lighting changes that equation entirely, it delivers adjustable, focused illumination exactly where you need it, whether you’re shaving, applying makeup, or cleaning. Unlike fixed recessed fixtures, track systems let you reposition and add lights without rewiring the entire ceiling. This guide covers everything from system types to installation tips so you can upgrade your bathroom with confidence.
Key Takeaways
- Bathroom track lighting delivers adjustable, focused illumination that eliminates shadows and allows you to reposition lights without rewiring, making it superior to fixed overhead or vanity fixtures.
- LED track heads consume 75–80% less energy than older halogen systems while lasting 25,000–50,000 hours, delivering both cost savings and safety benefits.
- Rail-based tracks suit larger bathrooms with layered lighting zones, while sleeker monorail systems work best in tight spaces and modern minimalist designs.
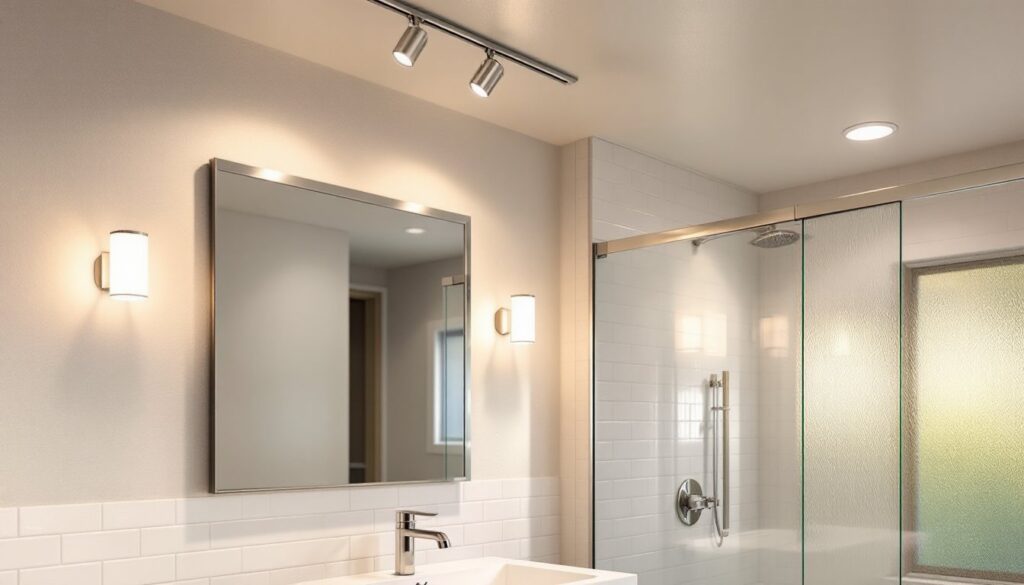
- Optimal vanity track placement is 18–24 inches from the mirror edge at 78–84 inches high to prevent glare while providing effective task lighting for grooming and makeup application.
- Track lighting installation requires careful mounting into structural framing, proper electrical connection using color-matched wire nuts, and testing before completion—hire an electrician if wiring feels uncomfortable.
- Choose corrosion-resistant finishes like brushed nickel, satin chrome, or anodized aluminum for bathroom track lighting to withstand humid conditions and extend fixture longevity.
What Is Bathroom Track Lighting and Why It Matters
Track lighting consists of a metal rail (or rails) mounted to the ceiling, wall, or sometimes a soffit, with movable light fixtures that slide and swivel along it. Inside that rail runs an electrical conductor that powers each fixture independently. You can adjust head positions to direct light downward, sideways, or at any angle, something fixed fixtures simply can’t do.
In a bathroom, this flexibility matters. A vanity light that leaves your hairline in shadow at 7 a.m. becomes adjustable within seconds. Overhead task lighting can illuminate a spacious shower. Accent lights can highlight tile work or a decorative mirror. Most residential bathroom track systems operate on standard 120-volt household current, though some compact systems come with low-voltage transformer options.
Beyond versatility, modern track fixtures run much cooler and more efficiently than older halogen or incandescent tracks. LED track heads now dominate the market, consuming 75–80% less energy than their predecessors while lasting 25,000–50,000 hours. You’ll also find that track systems look cleaner and more contemporary than bulky recessed can lights. Building codes vary by region, but most jurisdictions treat residential bathroom track lighting as a standard upgrade, no permit required if you’re tapping into an existing ceiling circuit.
Types of Track Lighting Systems for Bathrooms
Rail-Based vs. Monorail Systems
Rail-based (or multi-circuit) tracks are the traditional choice. These wider rails typically run 4–8 feet long and accommodate multiple lighting heads, each capable of independent switching or dimming. A two-circuit rail has two conductor strips inside: a three-circuit rail has three. This means you could control vanity lights separately from overhead task lights using different wall switches. Rail-based systems work well in larger bathrooms where you want layered lighting zones.
Monorail systems are sleeker and narrower, usually a single aluminum rod no thicker than a half-inch. They carry power through a single conductor and work beautifully in tight spaces or modern minimalist bathrooms. A monorail typically handles 4–6 fixtures maximum before voltage drop becomes an issue. They’re also lighter-duty: if you plan to hang heavy pendant-style heads, stick with traditional rail.
Lighting Head Styles and Finishes
Track heads come in dozens of styles. Gimbal heads are recessed fixtures that sit flush to the rail and tilt inside a spherical socket, ideal for creating sleek sightlines. Pendant heads hang below the rail on a stem and suit modern or industrial aesthetics. Decorative heads mimic sconces or mini-chandeliers and serve as statement pieces. In bathrooms, gimbal and adjustable spotlights tend to work best because they direct light precisely where needed.
Finishes matter for aesthetics and moisture resistance. Brushed nickel and satin chrome are standard and pair well with contemporary vanities. Matte black suits industrial or minimalist bathrooms. Polished brass adds warmth to traditional spaces. For bathroom use, always choose finishes that resist corrosion, avoid thin plated finishes that peel in humid conditions. Look for anodized aluminum or powder-coated metals rated for wet environments.
Key Benefits of Installing Track Lighting in Your Bathroom
Adjustability and precision are the headline. You can pivot and slide lights to eliminate shadows over the sink, brighten a dark corner, or focus on a specific task. No more fighting with overhead glare while you groom, adjust as needed.
Scalability is another big win. Start with two or three heads and add more later if your bathroom layout changes or you want extra task lighting over a makeup vanity. Most tracks accept new heads within minutes (they clip or screw in), and you’re tapping the same circuit, not running new wire.
Energy efficiency translates to lower bills. LED track heads draw 8–15 watts per fixture, versus 40–60 watts for older halogen tracks. If you run three heads six hours daily, you’re looking at a meaningful annual savings. Modern systems also run cool enough to touch, eliminating the fire hazard associated with high-heat halogen.
Aesthetically, track lighting reads as contemporary and purposeful. Unlike a cluster of recessed cans that demand perfect spacing and drilling, track adapts to irregular ceiling conditions and can follow sight lines or architectural features. Pro Trade Lighting: Enhancing offers insights into how quality fixtures elevate a room’s appearance. Many homeowners find it a worthwhile visual upgrade without a full electrical overhaul.
Planning Your Bathroom Track Lighting Layout
Before buying, sketch your bathroom to scale and mark where you need light most. Walk through your morning routine: Do shadows appear at the sink? Is the shower area dim? Does the mirror need side lighting? Most vanities benefit from a horizontal track mounted on the wall above or beside the mirror, roughly 18–24 inches from the edge and 78–84 inches high. This height prevents glare in the mirror while positioning light sources where they’ll bounce and diffuse effectively.
For overhead ambient light, mount a track along the center or toward the back of the bathroom, 12–18 inches from the ceiling (allow clearance for tall fixtures). A typical bathroom (5×8 feet) needs one to two tracks: larger master baths may warrant three or even a cross-pattern for even coverage.
Consider your ceiling material. Drywall is straightforward, drill into studs or use toggle bolts if hitting studs is impractical. Tile, plaster, or soffit require different anchors and careful drilling to avoid cracking. Recessed Lighting: Transform Your covers ceiling prep in detail.
Dimming is worth planning ahead. If your bathroom is small or your shower stall is enclosed, a single-circuit track powered by a standard toggle switch is fine. For larger bathrooms with multiple zones (vanity, overhead, accent), a three-way dimmer switch or smart dimming module lets you adjust intensity without rewiring. Confirm that your chosen track system and LED heads are compatible with dimming before purchase: not all LEDs work with older dimmer switches.
Installation Tips and Best Practices
Prep work is everything. Turn off power at the breaker and confirm the circuit is dead with a non-contact voltage tester. Locate ceiling joists using a stud finder: mounting directly into joists eliminates guesswork about weight capacity. If you must mount between joists, use heavy-duty toggle bolts rated for at least 25 pounds per bolt (track systems rarely exceed 15 pounds total, but overhead fixtures demand margin).
Measure twice, drill once. Mark mounting holes with pencil, then use a level to ensure the track runs true, even 1/8 inch of tilt becomes obvious once lights are on. For drywall, pre-drill with a bit slightly smaller than your screws to prevent splitting. For tile, use a carbide or diamond-core bit, apply masking tape to prevent slipping, and work at low speed to avoid cracking.
Electrical connection is straightforward if you’re tapping an existing fixture. Kill the breaker, disconnect the old fixture’s wires, and connect the track’s power leads to your supply wires using wire nuts (match colors: black to black, white to white, ground to ground). If you’re running new circuit or unsure about wiring, call a licensed electrician. Bathroom circuits are on 20-amp breakers for safety, and mistakes risk shock or fire.
Install track clamps every 3–4 feet to support the rail and distribute weight evenly. Tighten all set screws firmly to prevent slipping. Once the track is secure, test-fit one light head before installing the rest to confirm it slides smoothly.
Wear safety glasses whenever drilling overhead and use a dust mask if drilling tile or plaster, silica particles in plaster are hazardous. Leather work gloves protect your hands from sharp edges on the aluminum rail. If you’re working alone and the track is longer than 4 feet, recruit a helper to hold it steady while you secure fasteners.
LED heads come pre-wired: simply slide the connector into the rail’s power channel until it clicks. Some systems require a small screwdriver to tighten a contact screw, check your instruction manual. Test all heads with the power on before closing up drywall or tile work. Above Sink Lighting: Brighten and Track Lighting: Transform Your provide detailed guidance on fixture positioning and aiming for optimal results.
Final Thoughts: Making Track Lighting Work for Your Bathroom
Bathroom track lighting is one of the highest-impact upgrades you can tackle yourself. It’s flexible, modern, efficient, and genuinely improves daily function. Whether you’re adding a single vanity track or redesigning your entire ceiling, the principles remain the same: measure carefully, use quality hardware, secure mounting into structural framing, and take your time with electrical connections. If wiring makes you uncomfortable, hire an electrician for that step, the mounting and fixture installation are well within reach for any handy homeowner. You’ll enjoy years of adjustable, shadow-free light.


