Table of Contents
ToggleFlush mount recessed lighting has become the go-to choice for homeowners who want clean, modern ceilings without the bulk of traditional fixtures. Unlike surface-mounted lights that hang down or semi-flush options that protrude slightly, flush mount recessed lights sit nearly invisible within your ceiling, creating an open, uncluttered look. They’re practical for kitchens, bathrooms, living rooms, and hallways, spaces where every inch matters. Whether you’re upgrading your whole home or tackling a single room, understanding your options and installation basics will help you choose the right fixtures and avoid costly mistakes.
Key Takeaways
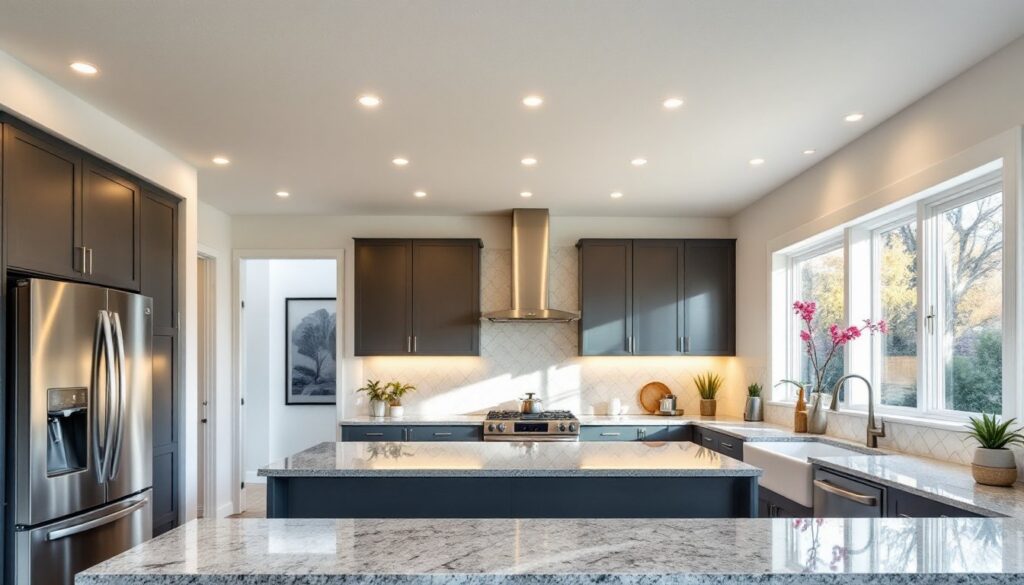
- Flush mount recessed lighting creates clean, modern ceilings by sitting nearly invisible within ceiling cavities, making them ideal for kitchens, bathrooms, and smaller rooms where space is limited.
- LED fixtures are the modern standard for flush mount recessed lighting, offering 25,000–50,000 hours of lifespan, minimal power draw (6–15 watts), and compatibility with dimmer switches and smart home systems.
- Proper installation requires killing power at the breaker, verifying cavity depth of 4–6 inches, using IC-rated housing when insulation is present, and obtaining permits as required by local building codes.
- Space fixtures 4–6 feet apart in a grid pattern for general ambient lighting, adjusting placement based on beam angle and room layout to avoid dark corners and achieve balanced, intentional design.
- Maintain recessed lights by cleaning trim rings every 6–12 months and troubleshooting common issues like flickering (incompatible dimmers), thermal problems (improper insulation clearance), and breaker trips (circuit overload or wiring errors).
- When uncomfortable with electrical wiring or facing recurring issues, hire a licensed electrician rather than risk fire hazards—proper installation and safety compliance are non-negotiable.
What Is Flush Mount Recessed Lighting and Why It Matters
Flush mount recessed lights are fixtures designed to sit flush, nearly level, with your ceiling surface, with the light source and housing tucked up into the ceiling cavity. The trimmed edge sits just barely above or level with the drywall, so the fixture itself almost disappears visually. This is different from pendant lights, chandeliers, or semi-flush fixtures, which hang down and take up visual space.
Why homeowners choose them: They don’t obstruct sightlines, they don’t collect dust like surface-mounted fixtures, and they work with any ceiling height. In smaller rooms or low ceilings, they’re lifesavers. They also offer flexibility in placement, you can space them in a grid pattern or concentrate them where you need task lighting.
The housing (the part buried in the ceiling) does require a cavity to sit in, so they’re easiest in new construction or renovation projects where framing is accessible. Existing homes can still get them with careful planning, though you may need to cut ceiling material and route wiring. The recessed lighting housing comprises the can or frame, insulation contacts, and mounting hardware, all of which need to fit snugly in your ceiling cavity for proper operation and safety.
Types of Flush Mount Recessed Fixtures
Not all recessed lights are created equal. Choosing the right type depends on where you’re installing, your electrical load capacity, and how long you want the fixture to last.
LED vs. Halogen vs. Incandescent Options
LED fixtures are the modern standard and worth the upfront cost. They run cool, draw minimal power (typically 6–15 watts per fixture), and last 25,000–50,000 hours (about 10–20 years of normal use). They generate far less heat, which means they’re safer around insulation and won’t require a special IC (insulation contact) housing in all cases. Dimming-compatible LEDs are widely available, though you’ll need to match them with a compatible dimmer switch.
Halogen fixtures deliver a crisp, bright light but run hot, often 50+ watts per fixture, and should never be installed directly against insulation without proper clearance. They’re less common in new work but you might encounter them during retrofits. Halogen bulbs last 2,000–4,000 hours.
Incandescent recessed lights are largely phased out in new construction due to energy codes in most regions, but older homes may still have them. They produce significant heat and demand IC-rated housing if insulation surrounds them. They’re inexpensive upfront but expensive to run and replace frequently.
Practical takeaway: LED is the choice for virtually every DIY project today. You’ll see modest energy savings, fewer bulb replacements, and compatibility with smart home systems if that matters to you.
Installation Basics for DIY Homeowners
Installation difficulty depends on whether you’re working in new construction or retrofitting. New construction is simpler, you can install the housing during framing and run wiring before drywall. Retrofitting an existing ceiling requires cutting holes and fishing wires through existing cavities, which is doable but trickier.
Tools, Materials, and Safety Considerations
Tools you’ll need:
• Drill-driver (for mounting fasteners and running wires)
• Drywall saw or hole saw (typically 4–6 inches, depending on fixture size)
• Stud finder (to locate joists and verify cavity depth)
• Non-contact voltage tester (to verify power is off before working)
• Ladder or work platform (safe access is non-negotiable)
• Fish tape (for retrofit wiring if running new circuits)
• Tape measure and pencil
Materials:
• Recessed light housing kits (IC-rated if insulation is nearby)
• Trim rings or bezels (often included with housing)
• Electrical wire (usually 14/2 or 12/2 NM-B, depending on circuit amperage)
• Wire nuts and electrical tape
• Junction boxes if required by local code
Safety first, always wear these PPE items:
• Safety glasses (dust and debris fall from above)
• Work gloves (wiring and metal edges cut)
• Dust mask or respirator (attic insulation and drywall dust)
• Hearing protection if using power tools for extended periods
Critical safety steps:
- Kill power to the room or area at the breaker. Verify with a non-contact voltage tester that there’s no live current.
- Check your local building code, some jurisdictions require a permit for new circuits or fixture additions. Structural modifications, rewiring, or work near load-bearing walls almost always need permits.
- Verify your ceiling cavity depth with a stud finder or by poking a wire through. Fixture housings need 4–6 inches of clearance above the ceiling.
- If insulation surrounds the fixture, use IC-rated (insulation contact) housing to prevent heat buildup and fire risk.
- Never work alone when at height. A second pair of hands steadies the ladder and helps pass materials.
For the actual wiring, a detailed step-by-step approach to recessed light installation shows how to safely connect fixtures to your home’s electrical system, ensuring proper grounding and code compliance. If your ceiling cavity is shallow, inaccessible, or you’re uncomfortable with wiring, hire a licensed electrician. Wiring mistakes cause fires: don’t skip this.
Design and Layout Tips for Maximum Impact
Where and how you place recessed lights determines whether they feel functional or leave dark corners. Bad spacing looks amateurish: good spacing feels intentional and balanced.
Spacing and coverage: A rule of thumb is to space fixtures 4–6 feet apart in a grid pattern for general ambient lighting, depending on fixture wattage and beam angle. Narrow beam angles (around 30°) suit accent lighting or task areas: wide beam angles (45° or more) spread light across larger zones. In kitchens, place fixtures above work surfaces and seating areas.
Height and recessing: Lower ceilings (under 9 feet) benefit from flush mounting because semi-flush or pendant fixtures feel cramped. Vaulted or tall ceilings can handle more visual interest without looking cluttered. If you’re remodeling, check that your ceiling framing allows proper cavity depth, some retrofit housings compress to fit shallower spaces, though this limits insulation clearance and flexibility.
Dimming and control: Plan wiring to support dimmer switches if you want ambiance control. You’ll need dimmer-compatible LED bulbs and a dimmer switch rated for their total wattage. A typical circuit supplies 15 amps at 120 volts, good for roughly 8–10 LED recessed fixtures at typical 8–12 watt bulbs. Don’t exceed the circuit rating.
Symmetry and focal points: Avoid clustering lights randomly. A grid feels intentional: lights on either side of a mirror or architectural feature feel designed. Walk around the room and visualize the fixture layout on the ceiling before cutting holes.
For more guidance on planning and optimizing recessed lighting layouts, resources on optimal placement and design strategies for recessed lighting provide detailed approaches to creating balanced, functional lighting schemes.
Maintenance and Troubleshooting Common Issues
Recessed lights are relatively low-maintenance, but a few issues do pop up. Most are quick fixes: a couple require professional help.
Dust and dimming: Dust accumulates on trim rings and bulbs over months or years, reducing brightness. Clean fixtures every 6–12 months by carefully removing trim rings and wiping them with a dry cloth. Don’t spray water directly on wiring or the socket.
Flicker or dead bulbs: LED bulbs are rated for long life, but incompatible dimmers cause flicker. Match your LED bulbs to your dimmer (most quality LED bulbs list compatible dimmers on the package). If one bulb keeps burning out while others don’t, the socket may be faulty: replace the entire fixture or the socket cartridge (if the design allows it).
Tripping breakers or no power: If a fixture is new and a breaker trips, you’ve likely exceeded circuit capacity or made a wiring error. Turn off that breaker immediately and check connections with a non-contact voltage tester. Don’t restore power until you’ve verified correct wiring (hot to brass, neutral to silver, ground to bare or green).
Thermal issues: If a fixture feels hot to the touch or smells like plastic, turn it off immediately. Halogen or older incandescent fixtures near insulation without proper IC-rated housing can overheat. LED fixtures rarely overheat, but if yours does, insulation may be blocking ventilation holes in the housing. Move insulation back at least 3 inches if possible, or replace the housing with a shallow fixture designed for tight spaces.
Gaps or trim issues: If the trim ring doesn’t sit flush, the housing may be installed at an angle. Loosen the adjustable mounting bracket and level the entire housing before re-tightening. If the ceiling is uneven, a floating trim ring helps hide small gaps.
For deeper troubleshooting and design validation, a comprehensive resource on outlines common issues and professional approaches to resolving them. When in doubt, especially with recurring electrical issues or heat concerns, call a licensed electrician. A $150 service call beats a $5,000 fire damage claim.


